
TOEM 2 · Walkthrough · Guide
TOEM 2 Walkthrough — Every Region, Stamp and Quest
A full TOEM 2 walkthrough of Homelanda, Cropten, Taletorp and Deltburg, covering stamp quests, photo and climbing challenges, critters and collectibles.
By the New Game Wiki team · Updated 2026-10-04
On this page (10)
- How Progression and Stamps Work
- Homelanda: The Starting Region
- Cropten: Vines, Jam and the Windmill
- Taletorp: Hammers, Potions and the Catacombs
- Deltburg: Plumbing, Business and the Library
- Do I have to finish every quest in a TOEM 2 region to move on?
- How many regions does TOEM 2 have?
- What are the recurring quest types in TOEM 2?
- What new abilities does the character have compared with the first TOEM?
- Is there a missable-content warning for TOEM 2?
A TOEM 2 walkthrough runs through four regions in order — Homelanda, Cropten, Taletorp and Deltburg — and you never need a full clear to move on. Community walkthroughs report that you only have to finish roughly half or fewer of the stamps in an area before the bus takes you onward, so a walkthrough is really a completionist route rather than a mandatory one. This page maps what each region holds, how stamps gate the bus, and where the recurring quest types show up.
How Progression and Stamps Work
The Steam description explains the loop directly: you fill your journal with stamps by completing quests, documenting discoveries and expanding your critter compendium, and each stamp is your ticket to unlocking the next region. Kioski at the bus stop does the checking. In full-game footage he tells the player the furthest he can get them from Homelanda is Cropten, refuses to move until enough stamps are collected, and then hands over the first ticket.
| Region | Sight quest | Signature quest types | Documented gate |
|---|---|---|---|
| Homelanda | Home | Photo of Nana, Take Flight, Critters to Adore | First bus ticket to Cropten |
| Cropten | The Grand Sunflower | Vine cutting, jam making, windmill, giant chicken | Half or fewer of the stamps, to confirm |
| Taletorp | Cavern's Light | Potions, hammer puzzles, knights, catacombs | Half or fewer of the stamps, to confirm |
| Deltburg | Not documented yet | Plumbing, crane, business deals, library | Final region before Whirlhill |
Every region shares the same skeleton, which is the fastest way to spot what you have missed:
- One named Sight, photographed for the scrapbook's sight section.
- A set of stamp quests from townsfolk, each worth one stamp toward the bus.
- A Photo Challenge from the Photo Challenger Guild, usually a single odd object.
- A Climbing Challenge that hides a flag on a roof or tower.
- A Make a Friend chain that continues into the next region.
- Compendium critters to photograph, counted per region.
Homelanda: The Starting Region
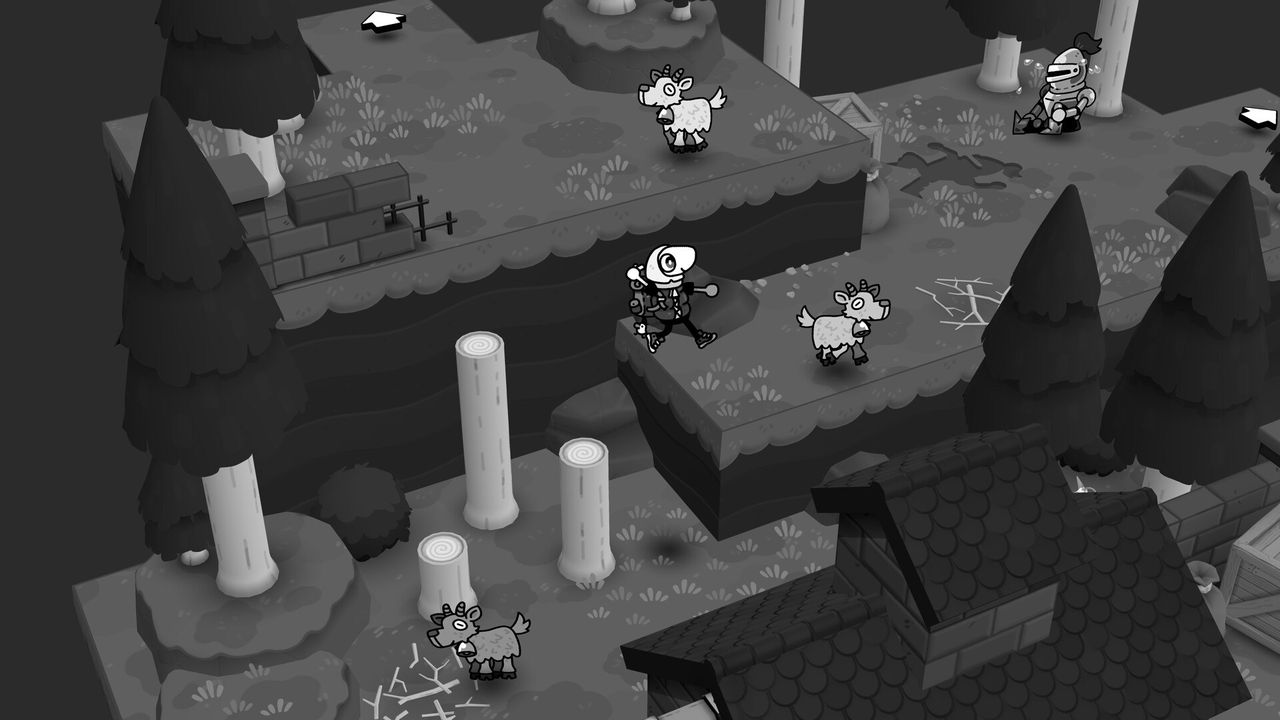
Homelanda is the tutorial region and the only one tied to your own house. Its Sight is a photo of your home, and the sharing walkthrough lists four short stamp quests: photograph Nana when she asks, retrieve the paper plane for the man on the shed roof, and take any critter photo to the woman under the tree for Critters to Adore. Full-game footage shows the first stamp arriving from the Nana photo, after which Kioski will finally sell a ticket onward.
Homelanda also sets the tone for the whole game. The woman under the tree tells you there are many more critters around the world and to stop and look occasionally, which is the in-game nudge toward the compendium. Leave the region only after photographing the four animals the walkthrough pictures; they are the first entries in a compendium that runs to 68 critters across all four areas.
Cropten: Vines, Jam and the Windmill
Cropten is the countryside region and the busiest one in the walkthrough, with tool-driven quests built around the scissors you receive from a worm. The vine quest Make a Friend asks you to keep cutting spore vines around the map, and Getting that Bread has you clear vines inside the windmill so the baker can mill flour again. The jam machine is the other spine here: five apples cut from trees produce a jar of jam, which feeds the Raspy Rooster, the Jam Scare quest and The Bees and the Jams.
| Cropten quest | What the walkthrough says to do |
|---|---|
| Make a Friend | Talk to the worm, take the scissors, cut every spore vine around the region |
| Getting that Bread | Cut the vines inside the windmill so the baker can work again |
| Unwanted Renovation | Take a dog bone from the windmill to the dog digging on the rabbit's roof |
| Missing Cat | Focus on the flower pot on the far left of the map to find the hiding cat |
| Gnome Over | Photograph three missing garden gnomes and show the owner |
| Raspy Rooster | Make jam from five apples and give it to the farmer for his rooster |
Other Cropten errands include the Grand Sunflower sight, Hairstylist (cut the potatohead's hair), A Cut Above the Rest (cut 10 thrown fabrics for the tailor), Pot or Not (photograph a can, mug, boot and pan), Muddy Monsters (soap three piglets), Harvest Helper, Stubborn Seed, Migrating Scarecrow, and both a Climbing Challenge and the giant-chicken Photo Challenge.
Taletorp: Hammers, Potions and the Catacombs
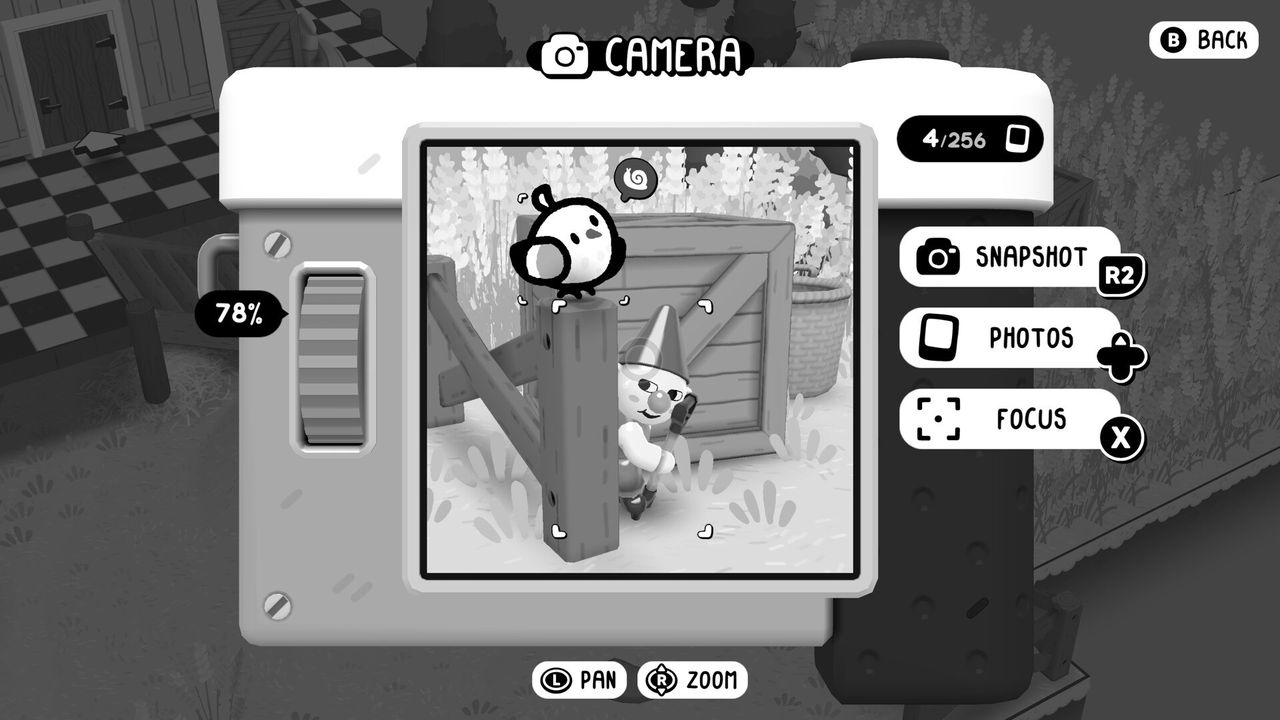
Taletorp swaps scissors for a hammer and turns up the puzzle density. The hammer removes a pot from the jester's head in Comically Stuck, smashes blocks to copy a sculpture in Sculpting a Masterpiece, and hits 10 targets for Side Quest Quest. The potion line is the second spine: Out of Juice sends you to the wizard, then to the potion maker with five mushrooms, for a potion that also resolves A Knight in Crying Armour and Invisible Mayhaps.
Before moving on from Taletorp, tick off the region's longer chains:
- Not So Knight: find all three trainer knights, then report back in the tavern.
- Explore the Catacombs: take the map from a tavern bedroom and follow it to the treasure.
- Tower of Love: climb the tower and tell the bard that nobody is home.
- Princess Display: photograph yourself in the princess hat and dress, then place it in the tower frame.
- Climbing Challenge: enter the inn and climb out of an upstairs window to the roof flag.
- Photo Challenge: photograph the bird's nest at the top of the tower.
Taletorp's larger tasks are the ones people miss. Not So Knight needs three trainer knights found around the map, Explore the Catacombs starts from a map in a tavern bedroom and ends at treasure, Tower of Love asks you to tell a bard nobody is home, and Princess Display wants a photo of yourself in the princess hat and dress placed in the frame at the top of the tower. The Climbing Challenge here goes through the inn and out of an upstairs window to the roof flag, and the Photo Challenge is a bird's nest at the top of the tower.
Deltburg: Plumbing, Business and the Library
Deltburg is the final region and the most urban. Make a Friend starts in the plumbing shop, where the plumber follows you outside and gives you a screwdriver; Left Hanging uses that screwdriver to swing a crane until the billboard sits somewhere photogenic. Doing Business is the region's long chain: change into the clothes an office worker hands you, seal the deal with the imp, then find three more people to do business with, one of whom wants a photograph of a portrait kept in the library.
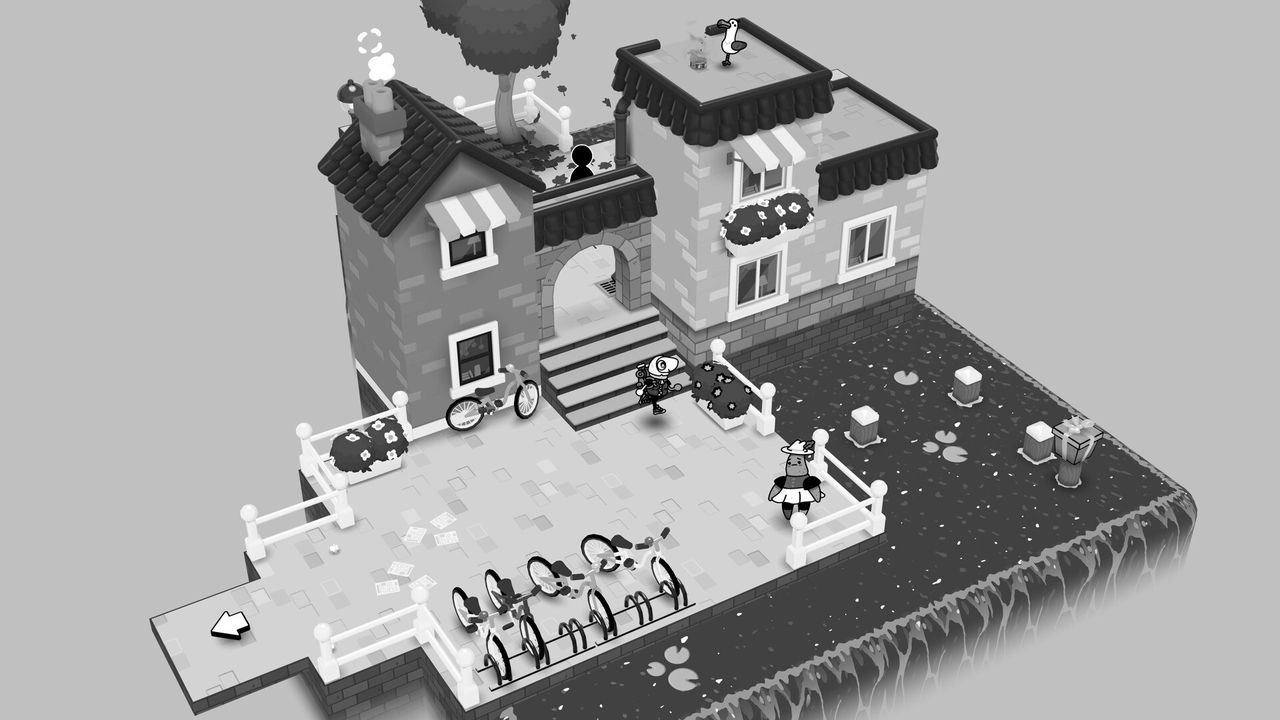
The library also feeds two achievements worth planning for: Scholar, for reading all Deltburg Library books, and Picking It Up, for recycling every bottle in the region. When the Deltburg stamps are in, the route turns toward Whirlhill and the Whirling Birch, the blooming event the opening newscast sets up and the trigger for the Experience TOEM achievement. For the per-region collectible breakdowns, see regions, all clothing, cat and bookworm; for the full checklist, use the achievements page.
FAQ
Do I have to finish every quest in a TOEM 2 region to move on?
No. Community walkthroughs report that you only need to complete roughly half or fewer of the stamps in each area to unlock passage to the next one. The bus stop character, Kioski, checks your stamp count and hands over the next ticket once the region threshold is met, so a full clear is optional unless you are chasing 100%.
How many regions does TOEM 2 have?
Four main regions, played in order: Homelanda, Cropten, Taletorp and Deltburg. A press preview of the demo and full-game walkthrough footage also reference Whirlhill and its Whirling Birch festival, which is the destination the story builds toward.
What are the recurring quest types in TOEM 2?
Each region mixes stamp quests (the main story tasks that pay a stamp), photo challenges set by the Photo Challenger Guild, climbing challenges that reward a flag, compendium critter photos, and a Make a Friend chain that runs through every area. Some regions add their own tool, such as scissors in Cropten and a hammer in Taletorp.
What new abilities does the character have compared with the first TOEM?
Jumping and climbing. The Steam page states you can run, jump and climb through the environments, and full-game footage shows climbing boards in the air and vaulting up walls with a jump button. The camera is still the main puzzle tool, now with attachments such as scissors, a screwdriver and a hammer.
Is there a missable-content warning for TOEM 2?
Not documented yet. No official source lists permanently missable quests, and the Steam description says the game is built to be finished at your own pace with no time limits or tricky requirements for full completion. Treat any missable list you see elsewhere as unverified.
More in Walkthrough
More walkthrough pages in TOEM 2.
- TOEM 2 Demo — What It Includes and What ChangedGuideUpdated 2026-10-04
- TOEM 2 How Long to Beat — Main Story and 100% TimesQ&AUpdated 2026-10-04
- TOEM 2 Regions — Homelanda, Cropten, Taletorp and DeltburgGuideUpdated 2026-10-04
References
- TOEM 2 walkthrough - Full quest guide
- TOEM 2 on Steam
- TOEM 2 — Official Site
- All Compendium Critter Locations in Toem 2
- TOEM 2 – 100% Walkthrough Full Game – All Achievements — YouTube
Facts on this page are compiled from the references above. Items marked "to confirm" are single-source and not yet verified.