
TOEM 2 · Walkthrough · Guide
TOEM 2 Regions — Homelanda, Cropten, Taletorp and Deltburg
TOEM 2 regions: Homelanda, Cropten, Taletorp and Deltburg plus Whirlhill, what each area holds, and how stamps gate travel between them on the photo trail.
By the New Game Wiki team · Updated 2026-10-04
On this page (8)
TOEM 2 is built around four regions that you visit in a fixed order — Homelanda, Cropten, Taletorp and Deltburg — with a fifth named location, Whirlhill, as the festival destination the story builds toward. Community walkthroughs split their guides along exactly these four areas, and each one is gated by stamps rather than by a linear level end. This page covers what each region contains and how travel between them works.
How the Four TOEM 2 Regions Work
The Steam description explains the loop: you fill your journal with stamps by completing quests, documenting discoveries and expanding your critter compendium, and each stamp is your ticket to unlocking the next region. Travel happens by bus, and Kioski at the stop checks your count before selling a ticket. The important detail for route planning is that you do not need a full clear: walkthroughs report that finishing roughly half or fewer of an area's stamps is enough to proceed.
| Region | Sight | Tools that matter | Documented notes |
|---|---|---|---|
| Homelanda | Home | Camera only | Tutorial region, four animal critters, first stamps |
| Cropten | The Grand Sunflower | Scissors | Vines, jam machine, windmill, giant chicken challenge |
| Taletorp | Cavern's Light | Hammer | Potions, knights, catacombs, tower climbs |
| Deltburg | Not documented yet | Screwdriver | Plumbing, crane, business deals, library books |
| Whirlhill | Not documented yet | Not documented yet | Festival destination and the Whirling Birch bloom |
Each region reuses the same content types, so the list below is a checklist you can carry from one area to the next:
- One Sight quest for the scrapbook's sight section.
- Stamp quests from townsfolk, each worth one stamp.
- One Photo Challenge from the Photo Challenger Guild.
- One Climbing Challenge with a flag as the reward.
- A compendium critter set, part of the 68 critters counted across the game.
- A Make a Friend chain that reappears in the next region with a new tool.
Region-by-Region Overview
Homelanda is where the game teaches itself. Its Sight is a photo of your own house, and its stamp quests are short: photograph Nana, return the paper plane for the man on the shed roof, and take a critter photo to the woman under the tree. Full-game footage shows the first stamp coming from the Nana photo, after which Kioski will finally talk tickets.
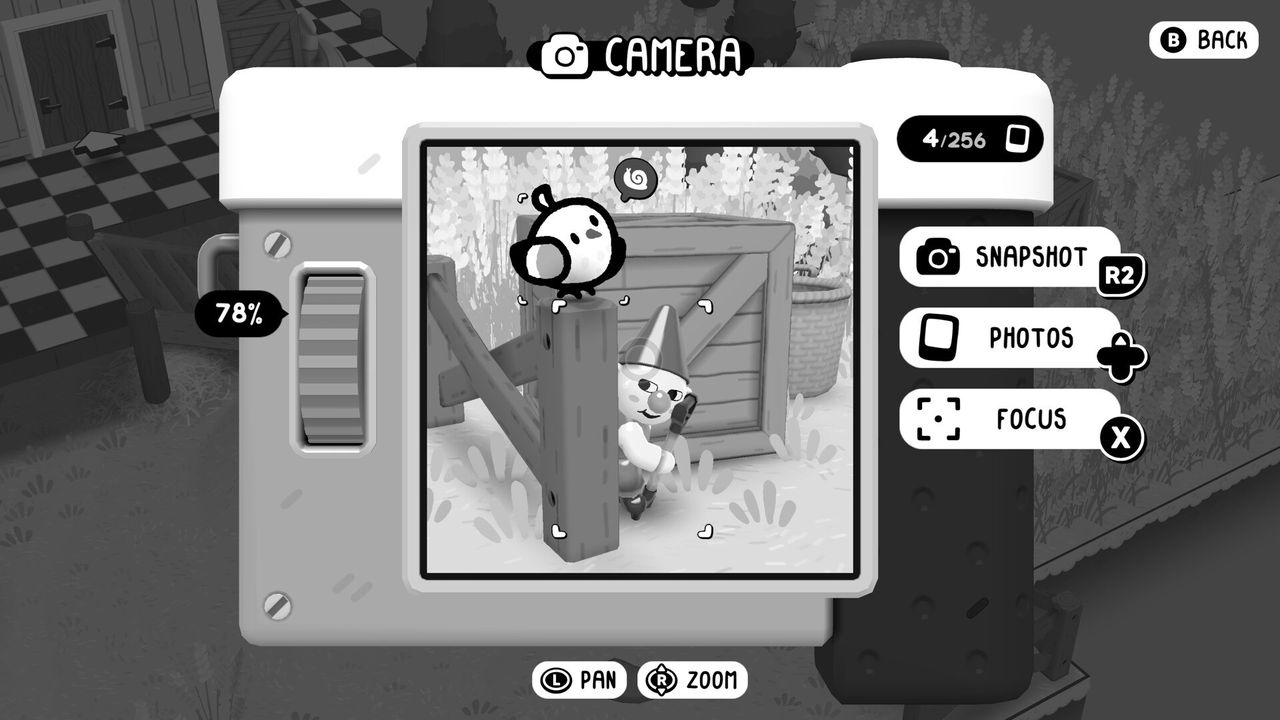
Cropten is the countryside and the busiest region for tool quests. The scissors you get from the worm drive the vine-cutting chain, the windmill repair, and the tailor's fabric-cutting task, while five apples from the trees feed the jam machine that several quests depend on. Taletorp then switches to a hammer and adds potion logistics, with mushrooms collected for the potion maker and delivered to a wizard, a knight and an invisible man. Deltburg closes the run as the urban region, handing out a screwdriver for plumbing and crane work and hosting the library that feeds the Scholar achievement.
Whirlhill and the Whirling Birch
Whirlhill is the festival town at the centre of the opening broadcast. The in-game newscast explains that crowds gather to see the Whirling Birch shed its last leaf and bloom into a TOEM, and that the festival is open before the bloom for anyone who wants to attend. Witnessing the bloom is what triggers the Experience TOEM achievement, which makes it the story's end point rather than a side stop.
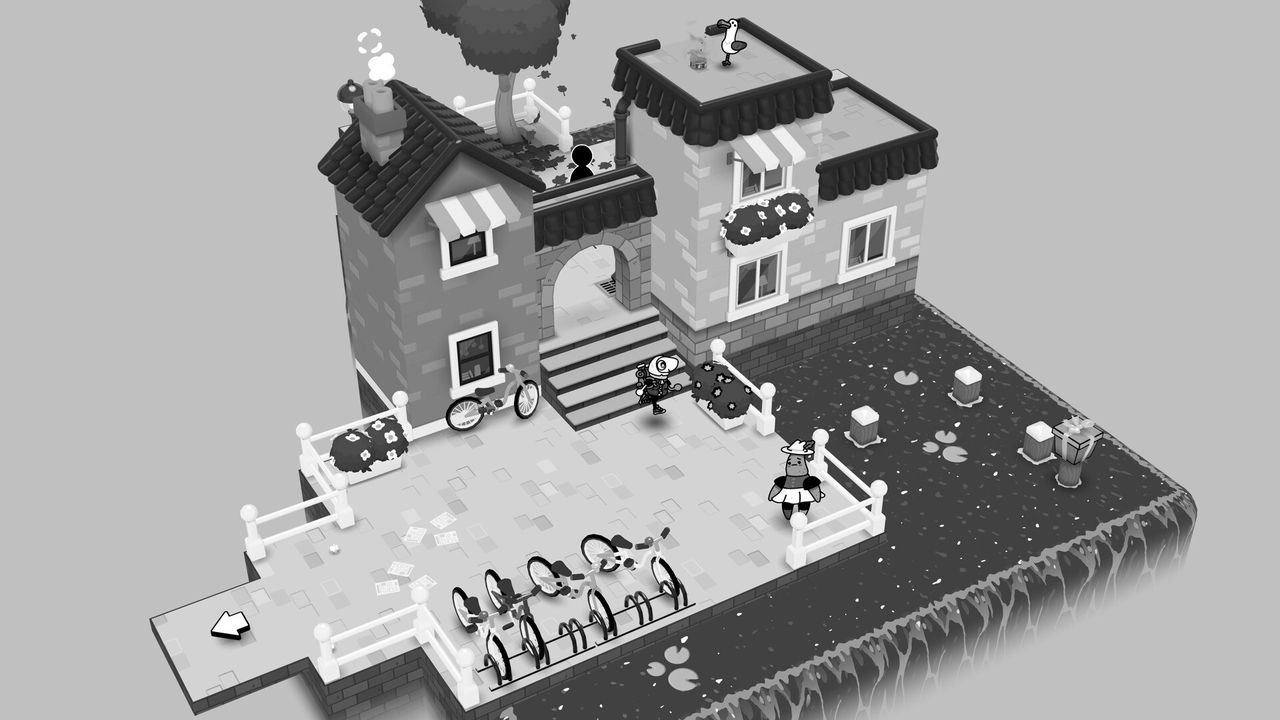
Whether Whirlhill has its own stamps, critters or challenges is not documented in the available material, so it is left unlisted here rather than guessed. What the material does establish:
| Whirlhill fact | Detail |
|---|---|
| What it hosts | The festival built around the Whirling Birch |
| Festival timing | Open before the bloom, so visitors can attend early |
| Story role | The destination the opening broadcast points toward |
| Achievement trigger | Witnessing the bloom unlocks Experience TOEM |
- Whirlhill hosts the festival built around the Whirling Birch.
- The festival opens before the bloom, so visitors can attend early.
- The bloom itself is the moment that triggers Experience TOEM.
- It sits at the end of the route, after Deltburg and the final bus ride.
For the quest-level detail, see the walkthrough; for the collectible counts that span all four regions, see the achievements page and the all clothing page.
FAQ
How many regions are in TOEM 2?
Four main regions, played in order: Homelanda, Cropten, Taletorp and Deltburg. Community walkthroughs separate their guides into exactly these four areas, and full-game footage also references Whirlhill, the destination festival town the story builds toward rather than a normal playable stop.
What does each TOEM 2 region contain?
Every region follows the same pattern: one named Sight to photograph for the scrapbook, a set of stamp quests from townsfolk, a Photo Challenge from the Photo Challenger Guild, a Climbing Challenge that hides a flag, a compendium critter set, and a Make a Friend chain that continues into the next area.
How do you unlock the next region in TOEM 2?
By collecting stamps and taking them to Kioski at the bus stop. The Steam description says each stamp is your ticket to unlocking the next region, and community walkthroughs report you only need roughly half or fewer of an area's stamps to move on, so crossing a region does not require a full clear.
What is the Sight in each region?
Homelanda's Sight is Home, a photo of your own house. Cropten's is The Grand Sunflower. Taletorp's is Cavern's Light, photographed inside a cave. Deltburg's Sight is not documented in the available walkthrough, so it is listed as unknown rather than guessed.
Is Whirlhill a playable region in TOEM 2?
It is the festival town the opening broadcast points you toward, where the Whirling Birch is due to bloom. Witnessing that bloom is the trigger for the Experience TOEM achievement. The material does not describe it as a fifth quest region with its own stamp list, so treat it as the story destination, to confirm.
More in Walkthrough
More walkthrough pages in TOEM 2.
- TOEM 2 Demo — What It Includes and What ChangedGuideUpdated 2026-10-04
- TOEM 2 How Long to Beat — Main Story and 100% TimesQ&AUpdated 2026-10-04
- TOEM 2 Walkthrough — Every Region, Stamp and QuestGuideUpdated 2026-10-04
References
- TOEM 2 walkthrough - Full quest guide
- All Compendium Critter Locations in Toem 2
- TOEM 2 on Steam
- TOEM 2 — Official Site
Facts on this page are compiled from the references above. Items marked "to confirm" are single-source and not yet verified.