
Welcome to Elderfield · Gear · Guide
Welcome to Elderfield Best Weapons — Forge Recipes and Top Gear
Welcome to Elderfield best weapons ranked by the community wiki: forge recipes, material chains, upgrade gems and the top end-game blades and staves.
By the New Game Wiki team · Updated 2026-10-04
On this page (9)
- How Weapons Work in Elderfield
- The Top End of the Weapon List
- Upgrade Gems and Stat Trade-offs
- What "Best" Actually Means Here
- Is there an official best weapon in Welcome to Elderfield?
- How do you craft weapons in Welcome to Elderfield?
- What does the Staff of Darkness do?
- What are upgrade gems for?
- Should I use a blade or a staff?
There is no developer-blessed tier list for Welcome to Elderfield, so the honest answer to "best weapons" is: the community wiki lists every weapon with the stats pulled from the game database, and the top of that list sits around item level 5. What you actually want depends on whether your build leans on physical Attack or on Magic Attack and rituals, because the strongest blades and the strongest staffs trade very different stats.
How Weapons Work in Elderfield
Weapons are crafted at the Forge, and each tier upgrades the previous one rather than starting from scratch: an Iron Shortsword consumes a Copper Shortsword, four Iron Bar and two Leather, and the Copper Shortsword before it consumes a Stone Shortsword, three Copper Bar, one String and four Wood. That chain means the metal bars, String and Leather you gather early decide how fast you climb the tiers. The community wiki's Forging page is flagged as possibly outdated, so treat individual recipes as to confirm until you check them in your current build.
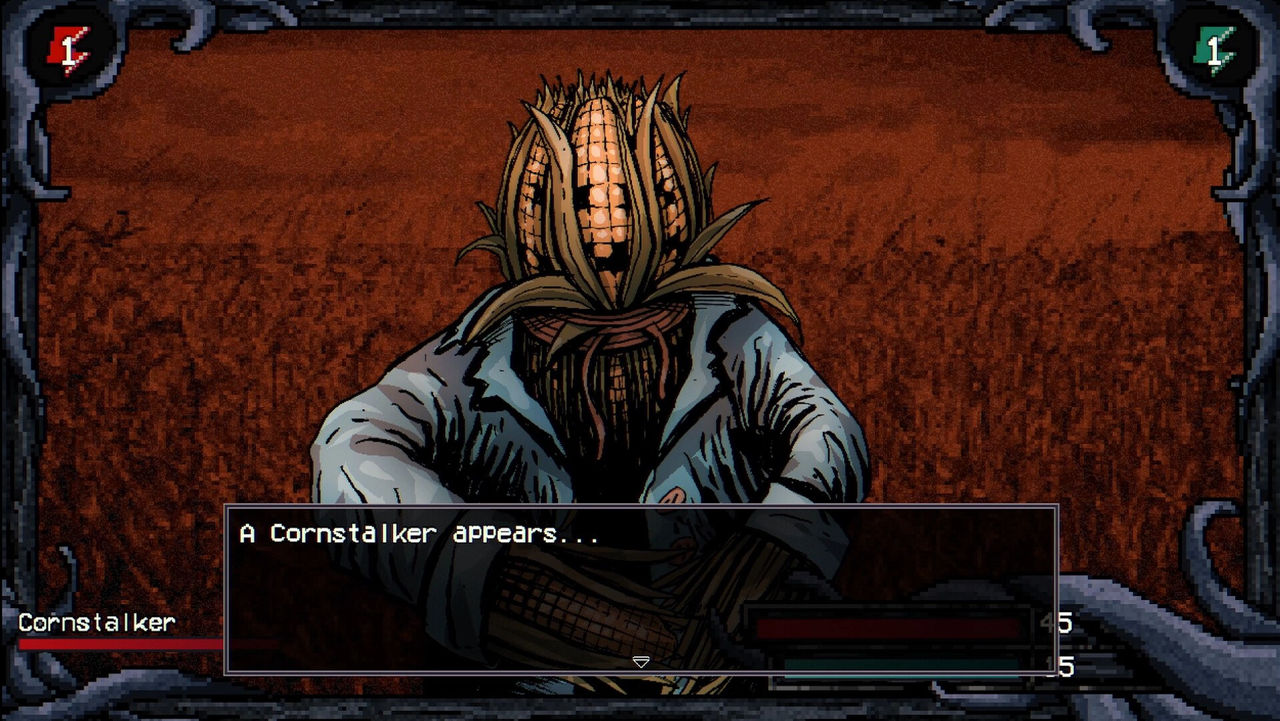
| Weapon | Item level | Key materials | Recipe source |
|---|---|---|---|
| Stone Shortsword | 1 | 6 Stone, 4 Wood | Automatic at the Forge |
| Copper Shortsword | 2 | 1 Stone Shortsword, 3 Copper Bar, 1 String, 4 Wood | Automatic at the Forge |
| Iron Shortsword | 3 | 1 Copper Shortsword, 4 Iron Bar, 2 Leather | Automatic at the Forge |
| Wooden Staff | 1 | 2 Stone, 6 Wood | Automatic at the Forge |
| Iron Staff | 3 | 1 Copper Staff, 4 Iron Bar, 2 Leather | Automatic at the Forge |
| Metal Bat | 2 | 4 Copper Bar, 4 Wood, 2 Leather | Automatic at the Forge |
| Staff of Darkness | 3 | 5 Iron Bar, 3 Gold Bar, 2 Void Crystal Bar, 15 Wood, 4 Leather | Automatic at the Forge |
| Blade of Darkness | 3 | 5 Iron Bar, 3 Gold Bar, 2 Void Crystal Bar, 15 Wood, 4 Leather | Automatic at the Forge |
| Verdite Greatsword | 4 | 6 Verdite Bar, 4 Green Crystal, 4 Void Crystal Bar, 10 Spiritwood, 8 Leather | Requires Forge Upgrade (t2) |
The Top End of the Weapon List
The strongest documented weapons are the Verdite and Platinum lines, both gated behind Forge Upgrade (t2). Verdite opens at item level 4 with the Verdite Greatsword, Verdite Quickblade and Verdite Staff, and Platinum sits above it with the Platinum Quickblade and Platinum Staff, which consume their Verdite counterparts plus Void Sphere or Beating Heart. Above attacking gear, the utility weapons are worth knowing because a few carry effects no sword can match.
| Weapon | Documented effect | Source |
|---|---|---|
| Staff of Darkness | Attacks deal Darkness; may cause Fear; Basic Attack becomes Energy Shot | Craft at Anvil |
| Staff of Valtris | Attacks deal Insight; Basic Attack becomes Energy Shot | Mine Armor Roll lv2 |
| Large Wrench | +25% chance for Basic Attacks to add +1 | Found in Mall F1 Office 4 |
| Pumpkin-Carver | Damaging attacks have a 5% chance to generate +1 AP | Greystone Estates - Rooftop |
| Rapier of the Dead God | Large Attack and Magic Attack, from an Ancient Totem | From Ancient Totem |
| Axe of Misfortune | Attack +25 but Luck -100 | God Shrine Sewer f1 |
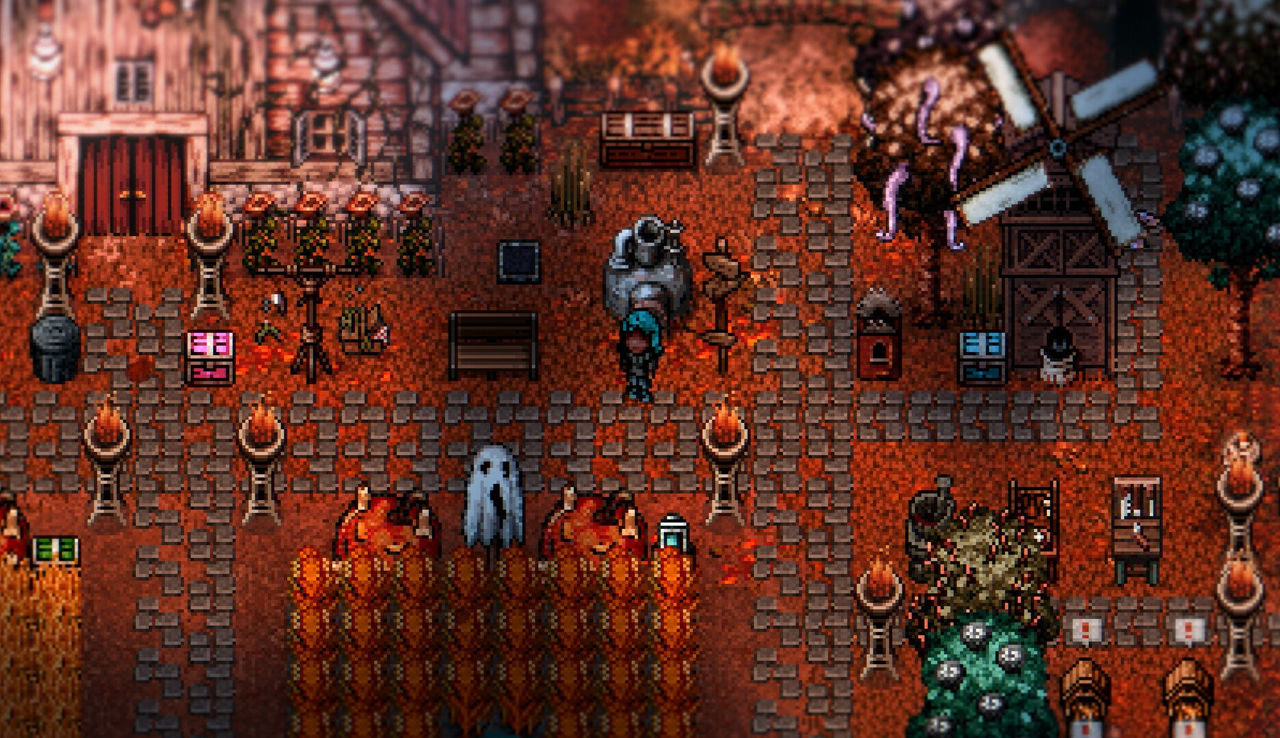
The extra AP effects are the ones that quietly change fights. Action points drive the turn economy, so a Large Wrench or Pumpkin-Carver can be worth more than a higher raw Attack number if your plan depends on squeezing out one more action.
Upgrade Gems and Stat Trade-offs
The Weapons wiki page keeps upgrade gems in their own section, split into four bands: item level 0–5, item level 0–10, item level 10–15 and any item level. Those gems are how a finished weapon is pushed past its base numbers, and because the page groups them by level band rather than by weapon, the practical rule is to match the gem band to the weapon's current item level and re-check after any patch.
- Blades buy Attack with Agility, Hit Rate and Magic Attack; the Triangle and Poison Greatswords push Attack near the top while cutting Agility hard.
- Staffs trade raw physical Attack for Magic Attack and MP Cost Rate, and several reroute your Basic Attack into Energy Shot.
- Utility weapons are the only source of the +1 AP effects, so keep one even after you outgrow its Attack.
- Weapons that deal Light, Darkness, Curse or Insanity damage are worth keeping for enemies that resist your main damage type.
The practical buying order that falls out of the table: clear the Stone and Copper tier at the Forge while you learn the combat system, bank Iron Bars and Leather for the item level 3 blades and staffs, then push Forge Upgrade (t2) so the Verdite recipes appear before you start spending Gold Bar and Void Crystal Bar on anything else.
- Stone and Copper tier: cheap, automatic at the Forge, and enough for the starting areas.
- Iron tier: needs Leather, so run the Bloody Skin chain first.
- Verdite tier: requires Forge Upgrade (t2) before any recipe appears.
- Platinum tier: consumes the Verdite version plus a Void Sphere or Beating Heart.
- Utility tier: keep a Large Wrench or Pumpkin-Carver for the +1 AP effects.
What "Best" Actually Means Here
Because the wiki publishes raw database stats, "best" resolves into three separate questions: highest Attack, highest Magic Attack, and best effect per action. Pick the frame that matches your build, then let the tips page's rule about supplies decide how deep you push. Armour and accessory pages are referenced from the same wiki but are not part of this page, and exact gem rolls per level band are not documented yet, so verify them in-game.
FAQ
Is there an official best weapon in Welcome to Elderfield?
Not documented yet. There is no developer tier list, and the community wiki lists every weapon with stats straight from the game database rather than ranking them. What the data does show is that the highest-level weapons sit around item level 5 and split into physical blades, staffs that change your Basic Attack and low-attack utility tools with special effects.
How do you craft weapons in Welcome to Elderfield?
At the Forge, which starts with a set of recipes available automatically. Every upgrade consumes the previous weapon plus metal bars and materials — for example an Iron Shortsword takes one Copper Shortsword, four Iron Bar and two Leather. The Verdite and Platinum tiers are locked behind Forge Upgrade (t2), so you must improve the Forge before those recipes appear.
What does the Staff of Darkness do?
The wiki lists it as a dense iron staff with a cursed orb that deals Darkness damage and may cause Fear, and its attack line becomes Energy Shot, a ritual. Crafting it takes five Iron Bar, three Gold Bar, two Void Crystal Bar, fifteen Wood and four Leather.
What are upgrade gems for?
The Weapons wiki page groups upgrade gems by item level band: item level 0–5, 0–10, 10–15 and any item level. They are the mechanic that pushes a weapon above its base stats, and the wiki lists them separately from the weapon table, so treat the exact rolls as `to confirm` until the current build is re-checked.
Should I use a blade or a staff?
It depends on the stats you want. Blades such as the Verdite Greatsword, Triangle Greatsword and Poison Greatsword push raw Attack at steep Agility and Hit Rate costs, while staffs favour Magic Attack and MP Cost Rate and several change your Basic Attack to the ritual Energy Shot. The wiki gives both lines full stat rows, so the choice is about which trade-off suits your build.
References
- Forging - Welcome to Elderfield Wiki
- Weapons - Welcome to Elderfield Wiki
- Welcome to Elderfield on Steam
- Welcome to Elderfield Walkthrough and Guide
Facts on this page are compiled from the references above. Items marked "to confirm" are single-source and not yet verified.