
GRAIN ROT · Puzzles · Guide
Grain Rot Symbols Meaning — Every Elevator Modifier Explained
Grain rot symbols meaning, explained: the confirmed elevator modifiers, the community-recorded 1.0 list, and the combinations that change how you run.
By the New Game Wiki team · Updated 2026-10-04
On this page (9)
- How Elevator Symbols Work
- The Confirmed Symbols
- The Community-Recorded 1.0 Modifiers
- Combinations That Change Your Route
- What do the symbols above the elevator in GRAIN ROT mean?
- What does Broken Fuse do in GRAIN ROT?
- Does 2x Gold double everything in GRAIN ROT?
- What does Lights Out change in GRAIN ROT?
- Can you choose or reroll elevator symbols in GRAIN ROT?
The symbols flashing above the cursed elevator are the modifiers that reshape each descent in GRAIN ROT, not decoration, and reading them is the cheapest skill you can learn. Each ride rolls a small set from a pool, the panel always shows them before you commit, and the community material is clear that a bad roll costs nothing except a reroll. This page covers the grain rot symbols meaning for the confirmed five, then the wider community-recorded 1.0 list, and finishes with the combinations that actually change a route. Five symbols are documented from credited footage and the Steam description; the rest are community-recorded because the developer has never published an official glossary, so treat those names as provisional.
This page is compiled from the credited community documentation and the official Steam listing; details that rest on a single source are marked to confirm.
How Elevator Symbols Work
Every descent rolls a handful of glyphs from a shared pool and paints them on the panel above the lift. Three properties govern all of them. First, they stack, so Shop Cube and Fuse can both fire on the same descent and the order you handle them matters. Second, they are optional to engage but not to see, which means the panel is always readable before you commit. Third, more reward usually means more Corrupted: a free-gold symbol almost always brings extra pressure along with it. The mental model the community uses is a bet slip, where each symbol shifts the odds and a stack of greedy rolls can turn a routine loot run into a squad wipe.
| Symbol | What it changes | Immediate reaction |
|---|---|---|
| Shop Cube | Shop-type items spawn around the facility | Sweep side rooms while the team holds the lift |
| Broken Fuse | Extraction needs a working fuse or a substitute | Solve the extra exit condition early |
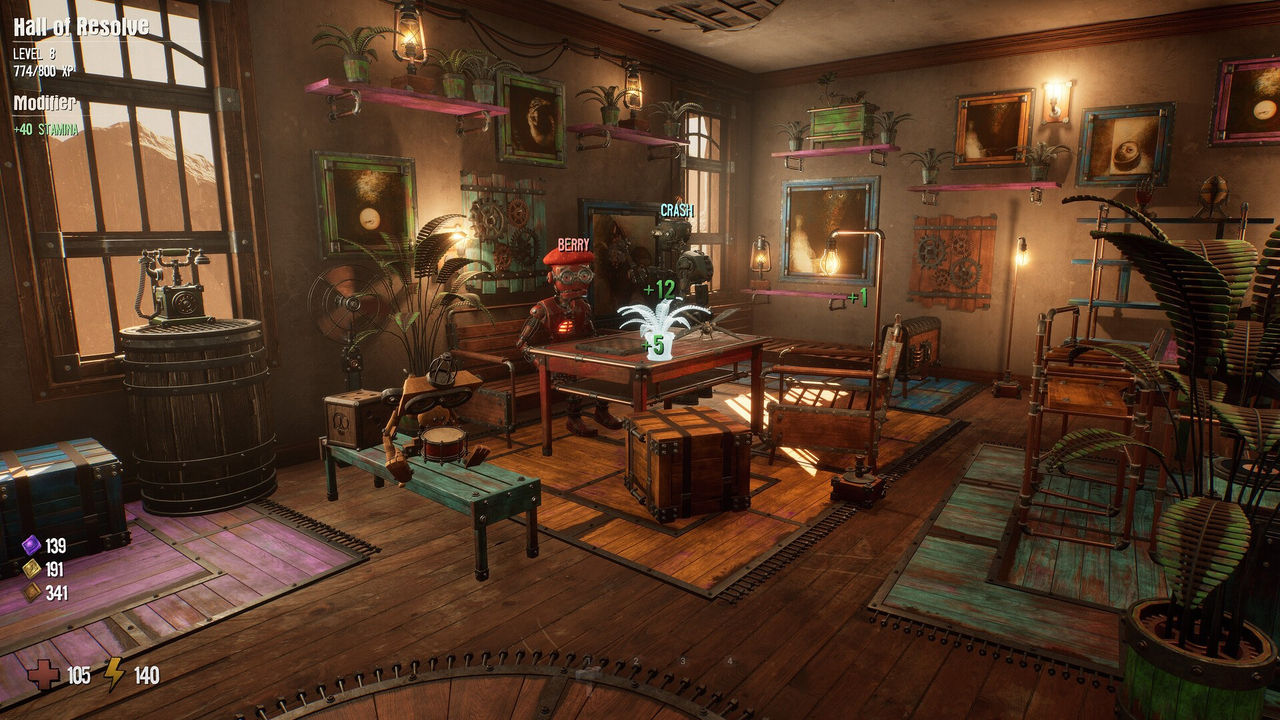
| Map Room | Adds a navigation room with a live team map | Use it as a route anchor and regroup point |
| Bear Trap | Random floor traps appear | Stop sprinting blindly through clutter |
| Lights Out | Lighting drops and personal light ties to stamina | Preserve stamina before dangerous crossings |
The reading order the community recommends is short and worth memorising:
- Does anything add an extraction condition? If so, start solving it immediately.
- Does anything increase danger? Lower how much optional risk you accept.
- Does anything increase profit? Change what you are willing to carry and search for.
- Did you get a utility modifier? Let it change your route rather than your greed.
The Confirmed Symbols
The five confirmed symbols cover offence, defence, and utility. Shop Cube scatters free shop items at fixed seed points such as benches, lockers, and wall niches, and the documented pool includes guns, bats, healing vials, compasses, and mallets; it is the friendliest symbol in the pool, and teams routinely under-use it by walking past free gear. Broken Fuse is the one that wipes new crews, because the search spreads you thin across a noisy map, and the fast path is the compass shortcut, which spends your navigation tool to skip the search. Map Room spawns a real-time team-position map table plus ambient props and a breakable lantern, and the lantern is the hidden value: breaking it and standing in the flame burns Rot off your vessel little by little at the cost of health. Bear Trap and Lights Out are the discipline symbols, punishing blind rushing and careless sprinting respectively.
| Confirmed symbol | Numeric detail from community testing | Route consequence |
|---|---|---|
| Broken Fuse | Compass can substitute for the fuse | Solve the exit before over-looting |
| Map Room | Also a Rot cure via the breakable lantern | Call its location early for regrouping |
| Bear Trap | About 10 damage and 2.5-3 seconds of being held | Trigger traps with an item to disarm them |
| Lights Out | Light dims at zero stamina, relights around 35 | Keep stamina reserve as visibility |
| Shop Cube | Free gear at benches, lockers, and niches | Scout the side rooms first |
The Community-Recorded 1.0 Modifiers
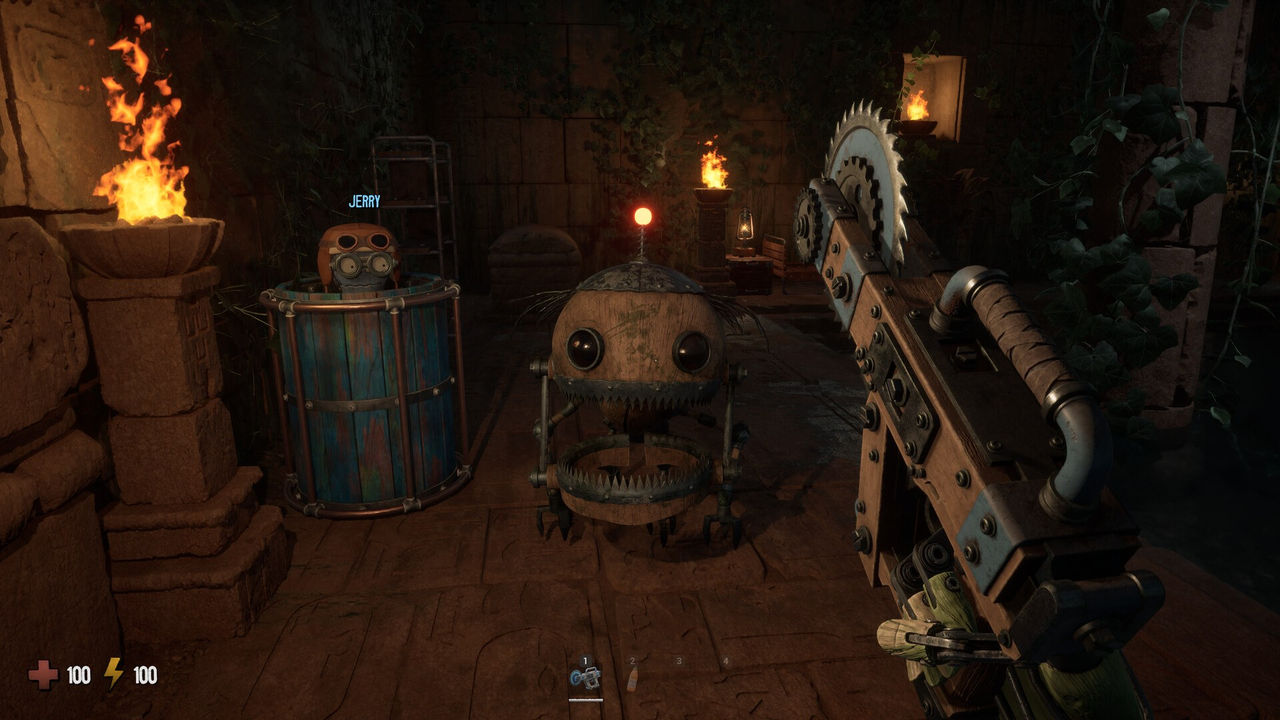
Beyond the confirmed five, the community has consolidated a wider 1.0 list from credited footage. Several entries are renames of the confirmed symbols, so Fuse becomes Power Outage, Map Room becomes Surveyed, Trap becomes Hazard Zone, and 2x Gold becomes Gold Rush, while new rolls include Black Market, Overcharge, Hidden Stashes, Heavy Machinery, Reinforcements, Mutation, Nesting Grounds, and Rot Bloom. The player-advantage rolls are the ones to exploit: Black Market hides a vendor selling three random items, Gold Rush doubles processed value, and Overcharge boosts your Spark when a vessel breaks, turning body loss into a reposition instead of a crisis. Hidden Stashes tucks breakable piggy banks into rooms, and Heavy Machinery adds a smaller compactor whose noise radius is far shorter than the main Grinder's, sometimes with a free mallet behind it.
The hazard rolls are where runs die, and they are worth recognising on sight:
- Power Outage stops the elevator until a fuse is found and socketed, with the compass shortcut still available.
- Reinforcements raises the enemy cap from around three to four or more on early layers.
- Hazard Zone adds extra environmental traps in corridors and doorways.
- Mutation gives the Corrupted elemental damage that applies a status on hit, so fights get disproportionately worse.
- Nesting Grounds spawns rot lurkers continuously, so there is no clearing it, only looting fast.
- Rot Bloom fills your corruption bar just by breathing, and at full bar you vomit and can spread it to teammates.
- Bank is the baseline roll with no effect, and Heavy Machinery and Gold Rush are the profit-friendly exceptions.
Combinations That Change Your Route
Individual symbols matter less than the stack, and the community examples make the point cleanly. Broken Fuse plus 2x Gold pulls in opposite directions: the gold says stay and process valuables, the fuse says make sure the exit works. The recommended priority is to get useful value, solve the fuse condition, make extraction safe, and only then decide whether another loot branch is worth it. Map Room plus Shop Cube means checking the bench in the map room for a bonus item, and Map Room plus Broken Fuse means checking the box at the map table as part of the fuse search. Compactor plus 2x Gold is a favourite profit pairing, and Red Skull plus Lights Out is the combination where you shorten exploration and protect stamina, because more enemies and weaker visibility is not the run to reach zero stamina three rooms from the elevator.
A blank roll has no special effect, and upgrading the Outpost elevator reduces the chance of blanks rather than removing dangerous modifiers. The community advice is not to rush that upgrade: if runs are failing because of weak health, stamina, or gear, a more interesting elevator roll does not fix the real problem. Once the loop is stable, fewer blanks become attractive because more repeated runs get an actual modifier. When a roll looks bad, remember that the revive page covers what a wiped vessel actually costs, and the burn-the-rot page explains the lantern trick that makes Map Room so valuable.
FAQ
What do the symbols above the elevator in GRAIN ROT mean?
They are the descent modifiers. Each ride rolls a small set from a pool, and every symbol changes what loot you find, what danger you face, or what condition the exit needs. The panel always shows them before you commit, so a bad roll costs nothing but a reroll.
What does Broken Fuse do in GRAIN ROT?
It adds an exit condition: the elevator will not run until you find and install a replacement fuse in the lockers or chests. A Compass can substitute for the fuse, which trades your navigation tool for time, and community guides recommend solving the condition early rather than at the last minute.
Does 2x Gold double everything in GRAIN ROT?
No. Community testing says the modifier doubles processed item value only, so a 25 Gold object becomes 50 and a 35 becomes 70. Piggy Bank Gold, loose coins, and purple coins are not doubled, and a purple coin worth one stays worth one.
What does Lights Out change in GRAIN ROT?
It darkens the layer and ties your personal light to stamina. Sprint until stamina hits zero and the light can flicker and shut off until stamina recovers to around 35, which turns stamina into a visibility resource rather than just a movement bar.
Can you choose or reroll elevator symbols in GRAIN ROT?
No. The symbols are rolled per descent and cannot be rerolled individually. Refusing one symbol means skipping the whole descent, and upgrading the Outpost elevator reduces the chance of blank rolls without removing dangerous modifiers.
References
- GRAIN ROT Elevator Symbols: Every Modifier Explained (dq7reimagined)
- Grain Rot Elevator Symbols & Modifiers Explained (grainrotwiki.org)
- GRAIN ROT - Ultimate Beginner’s Guide (YouTube)
- GRAIN ROT on Steam
Facts on this page are compiled from the references above. Items marked "to confirm" are single-source and not yet verified.