
Anymaker · Building · Guide
Anymaker How to Build — Chassis, Engine, Wiring, and Controls
Anymaker how to build guide: the edge and plate tools, mechanical and electric wiring, seats and pedals, and the motor-to-wheel torque chain explained.
By the New Game Wiki team · Updated 2026-10-04
On this page (12)
- How Building Works in Anymaker
- The Tools You Will Use
- Step 1: Structure with the Edge Tool
- Step 2: Mechanical Links and Signals
- Step 3: Electric Wiring
- Step 4: Seats, Controls, and the Torque Chain
- A Build Order and the Common Mistakes
- How do you build a vehicle in Anymaker?
- How does the edge tool work in Anymaker?
- How do mechanical links work in Anymaker?
- How do you wire electricity in Anymaker?
- What is the torque chain in Anymaker?
How Building Works in Anymaker
Anymaker how to build is not a single menu: it is four systems stacked on a grid. You shape structure with the edge tool, move signals with mechanical links, move power with electrical cables, and turn power into motion through a torque chain. The developer's own basics video builds a minimal working car by combining all four, and that is the right mental model — a vehicle is a frame plus controls plus a motor chain, and everything else is refinement. Nothing here is a preset; the game expects you to place components, choose where ports go, and tune ratios.
| Build system | Tool | What it produces |
|---|---|---|
| Structure | Edge tool, plate tool | The chassis frame and flat surfaces you mount to |
| Mechanical | Mechanical link tool | Signal routing between controls and outputs |
| Electric | Electric tool | Power distribution from batteries to motors and lights |
| Torque | Properties tool, parts | Physical rotation that actually drives a wheel |
The Tools You Will Use
The vehicle editing tools come out of labeled boxes rather than a permanent toolbar, so knowing where they live saves a lot of wandering. In Sandbox everything is unlocked from the start, which makes it the right place to practise.
| Tool | What it does |
|---|---|
| Edge tool | Drags out frame edges from a built surface so you can extend a shape |
| Plate tool | Adds flat plates to surfaces as non-essential mounting area |
| Mechanical tool | Draws and reads mechanical links between blue inputs and yellow outputs |
| Electric tool | Draws and reads cables between electrical ports |
| Properties tool | Opens editable settings on components such as gearboxes |
| Remove tool | Deletes misplaced surfaces and parts |
Two interaction habits carry across every tool, and both become automatic quickly:
- Tap F to store a held item in your inventory; hold F to pull it straight into your hands.
- Use the mouse wheel to switch hotbar slots while building.
Pressing Tab opens the inventory screen where the full component list lives.
Step 1: Structure with the Edge Tool
You normally start by building off something that already exists — a wall or a box — rather than in empty space. Click and hold on a built surface, drag out, and release to create an edge; you can then build whatever form you want from it, including straight lines on an axis, diagonal lines, or a three-axis run. If your line keeps snapping to the wrong thing, tap R while dragging: the first tap locks to an axis, a second tap locks to a plane, and a third returns you to free movement. Adding an edge across an existing one splits it, which is how you remove a section cleanly.

Step 2: Mechanical Links and Signals
The mechanical system carries logic around your build. Buttons, brackets, dials, and invert blocks connect through the mechanical tool, and the colour code is fixed: blue nodes are inputs and yellow nodes are outputs, so a valid link runs blue to yellow. Active signals read as a value of one and inactive as zero, and with the mechanical tool in hand the game draws the links and shows debug values so you can see the state change as you press something. The mechanical invert block flips the sign of a signal, so one in becomes minus one out — the video's example sends the same button into two dials and they move in opposite directions.
Step 3: Electric Wiring
Electricity is separate from mechanics and works alongside it. You place electrical ports on components individually, which is slower than a fixed socket but lets you choose which side each port sits on and how many a component has. Batteries sit inside battery holders and can be removed or reinserted with the interact key, relays gate whether power flows through, and cables run between ports with the electric tool. When the circuit is live, a connected light or beacon comes on, and toggle-style buttons behave differently from hold buttons.
Step 4: Seats, Controls, and the Torque Chain
The final step turns everything into something drivable, and it is the part newcomers rush. Place a seat down and the steering wheel snaps into position when you hover the seat, then wire the seat's mechanical outputs to your wheels: the wheel offers a positive steering node, a brake node, and a negative steering node, so you can make two wheels steer opposite ways with the same signal. Pedals come with their own mechanical outputs, with the right pedal acting as the accelerator and the left as the brake.
| Link in the chain | What it needs |
|---|---|
| Motor | Electrical power, and a torque surface for the drive shaft |
| Drive shaft | Lines up with the motor's torque end |
| Gearbox | Editable ratio and an optional reversed output |
| Wheel | Positive steering, brake, and negative steering nodes wired up |
In the video's demo the motor runs at 22 hertz, or 22 revolutions per second, and an eight-to-one gearbox turns that into a much slower, stronger wheel speed — treat those numbers as a worked example of one motor rather than a universal spec (to confirm). Once the wheel touches the ground instead of spinning in the air, the same chain that spun freely starts moving the vehicle.
A Build Order and the Common Mistakes
Work in this order and you will spend far less time debugging:
- Practise in Sandbox, where every part and tool is unlocked and nothing is hunting you.
- Build a frame with the edge tool, using R to lock axis or plane.
- Place a seat, let the steering wheel snap in, and check its nodes.
- Add four wheels and wire steering and brakes before anything else.
- Build the torque chain: motor, drive shaft, gearbox, drive shaft, wheel.
- Hover parts with the right tool to read values instead of guessing.
The recurring mistakes are all sequencing errors: wiring the motor before checking the gearbox ratio, placing ports on the wrong side and then fighting the cable, and building a frame too small for the engine mounts. The community tutorial referenced in the search results recommends starting with the smallest chassis your terrain needs, bolting on one engine sized to the chassis mounts, and then adding four wheels and a single power source (to confirm).
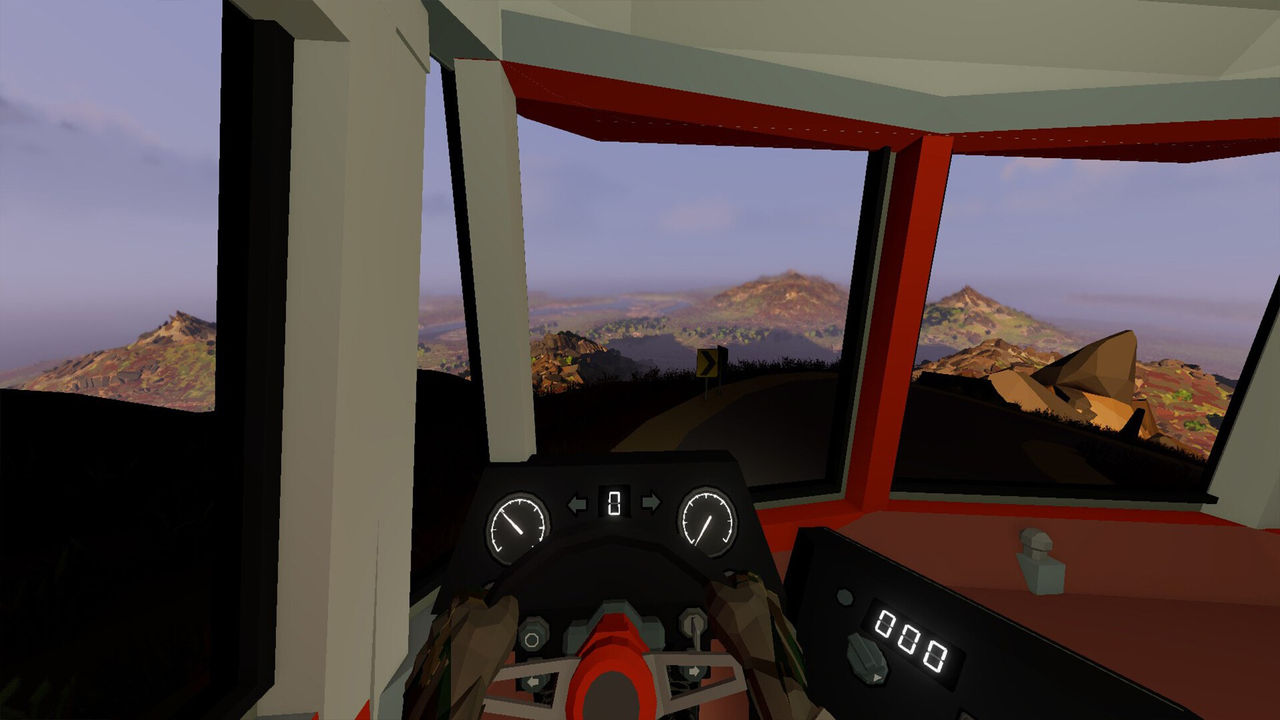
For the surrounding systems, the Anymaker guide covers the survival loop that feeds your build, the game map page explains where to scavenge parts, and the Steam page lists the Early Access caveats.
FAQ
How do you build a vehicle in Anymaker?
Build a frame with the edge tool, place a seat and steering wheel, add four wheels, connect the steering and brakes with the mechanical tool, then build a torque chain from a powered motor through a drive shaft and gearbox to a wheel. The developer's basics video demonstrates exactly this minimal car.
How does the edge tool work in Anymaker?
You click and drag from an already-built surface to pull out an edge, then build from that edge. You can build straight lines on axis, diagonally, or across three axes, and tapping R locks you to an axis, a plane, or free movement while you drag.
How do mechanical links work in Anymaker?
Mechanical nodes are directional: blue is the input and yellow is the output, and a mechanical link has to connect blue to yellow. Signals read as 1 when active and 0 when not, and blocks like the mechanical invert flip a positive value to a negative one.
How do you wire electricity in Anymaker?
Place electrical ports individually on components, then use the electric tool to run cables between them. Batteries sit in battery holders, relays switch power, and lights or beacons light up when the circuit is live. One component can take several ports on different sides.
What is the torque chain in Anymaker?
Torque runs from a motor's torque surface through a drive shaft, a gearbox, another drive shaft, and finally a wheel. The gearbox has editable properties, so you can set a ratio such as eight revolutions in for one out and reverse the output direction.
References
- Anymaker on Steam
- Anymaker — Geometa official product page
- Anymaker - The Basics of Building — YouTube
- What Are All These Tools For? | Anymaker Early Access — YouTube
Facts on this page are compiled from the references above. Items marked "to confirm" are single-source and not yet verified.